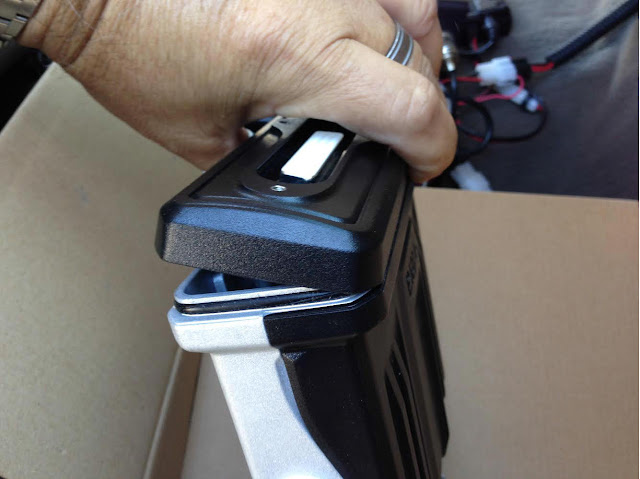
Hytera MD782G Remote Head Install Kit- Procedure
HYTERA MD-782 remote kit
Hytera MD782G Remote Head Install Kit- Procedure
1. Remove the three # 6 Torx Head screws holding the faceplate.
2. remove the ribbon cable and set the Head Unit aside.
3. Orient the Control unit Remote Plate with the radio body.
4. Line up the Ribbon cable with the connector –be gentle!
5. insert the Ribbon cable into the connector, mate plate to Body.
6. Install the 3 # 6 Torx Screws and tighten carefully.
7. Locate the Remote Head with Mounting Bracket and the Hytera Control Head.
8. Line up the ribbon cable with the connector as be fore, gently push the ribbon cable into the connector, &verify it is seated.
9. mate the Control Unit to the Remote Head mounting plate, verify it is seted, and install the 3 #6 Torx Screws. Install the Remote Head Cable to the Body, and to the Head unit. Affixing it with the provided Phillips head machine screws.
10. Mount your Hytera Radio, and control Head as you see fit, andas Always Enjoy your Hytera DMR Radio!
Step-by-step Guide
Digital Ham Radio / Amateur Radio
https://groups.io/g/DigitalHamRADIO
Amateur Radio Users Support Group
https://groups.io/g/AmateurRadio
North America - USA 🇺🇸 / Canada 🇨🇦 Amateur Frequencies
A shared discussion about North America Frequencies.
https://groups.io/g/Frequency
Radio Scanners
https://groups.io/g/Scanners
Whistler Scanners [Whistler, Uniden]

